Vaporesso Swag PX80 Showcase
Welcome back to our blog page! Yes, it has been a minute but with the curren...
Read MoreIt’s always hard taking the plunge to quit smoking and start using E-Cigarettes. Here at The Best E-Cigarette, we like to make sure you choose the right kit to help you do this.
Whether you’re just starting to use E-Cigarettes or are a seasoned veteran, it’s always good to have an honest second opinion when choosing a new kit.
In this week’s blog post, we will be looking at what kits work best for those wanting to quit and why they work as well as they do.
E-Cigarettes have been in use since 2003, although at this time it was quite a niche market with very few options. The industry however has boomed ever since, with thousands of brands to choose from and countless new users looking to quit their smoking habit to better their health whilst saving a penny or two.
It has been proven by the Public Health of England (PHE) that E-Cigarettes are 95% safer than traditional smoking methods and this has not changed since their report in 2015.
Considering that this has stayed consistent and vaping continues to help people quit, coupled with my own personal experiences with E-Cigarettes, I would always recommend using an E-Cigarette as the best method to quit smoking once and for all.
Before picking which kit to use, it can be useful to familiarise yourself with some of the basics of vaping to help you make your decision.
All e-cigarettes have a battery that powers the device, then a tank that holds the e-liquid. The battery section can be as simple as a pen-style tube with a single button, all the way up to a big, chunky box (often called a ‘mod’) with a screen and buttons to alter different settings such as power output. Some mods even have replaceable batteries so that the user can have spares for extra battery life when on-the-go. The tank section is similar in that it can go from a thin tube (a clearomiser) up to a thick tube (a tank) to match the bigger ‘mods’. All tanks, whether a thin one or a thick one, have something inside called an atomiser (also known as a ‘filter’ or more commonly a ‘coil’). The coil is the component that absorbs the e-liquid and vaporises it when heated up by the battery. It has cotton to absorb the liquid wrapped around wire that heats up to vaporise it. Because the cotton is constantly being heated, it will eventually burn out which can cause a bit of a burnt taste when vaping. This means it needs to be changed whenever this happens which is usually between 1-3 weeks, however can be anywhere from 3 days to a month depending on usage and what device / liquid you are using. When you fill up your tank, if it has a fresh, unused coil (so when you first buy it or if you’ve just changed it), you need to leave it to soak for 5 minutes to ensure the liquid properly soaks into the cotton. Otherwise, you can risk burning the cotton straight away which means you’ll need to throw it away and replace it. Tanks often have air holes which dictate the airflow / tightness of the draw (we’ll talk more about this later on). The air holes can either be fixed or adjustable so the user can control how tight or loose the draw is.
Batteries and tanks come in all shapes and sizes; more traditionally the two will be completely separate components and the tank will screw onto the top of the battery. In some cases you can find an ‘all-in-one’ kit where the tank is built onto the top of the battery and is not detachable (other than to change the glass if it breaks in some cases). More recently however people are using kits known as ‘Pod Kits’. These don’t have a tank as such, instead they are a pod that slots into the top of the battery. This appeals to people because they are more compact and portable.
While a lot of vapers prefer simplicity (what we would recommend for new starters), many enjoy personalising their vaping experience. This can be achieved by using a more advanced kit with different settings that can be altered and are often displayed on a screen. These alterations can be anything as small as changing the colour of the screen, all the way up to changing the power output (variable power) to adjust the whole performance of the kit. When vaping first began, the most common measurement of power output was Volts, so when the first variable power devices came out they were known as Variable Voltage (VV) devices. Now, the majority of devices on the market operate in ‘Watts’ as this allows more precise modifications to the power to fine-tune the vaping performance more effectively. These are known as Variable Wattage (VW) devices. The higher the power, the higher the throat hit and vapour production. When increasing your power, you just have to make sure that your coil can handle it. All coils have something called a resistance (measured in ‘Ohms’ – Ω) which refers to how the wire inside is wrapped and how much power it can handle. Generally, the lower the resistance, the more power the coil can handle (although there are some exceptions). Any coil with a resistance below 1Ω is called a ‘sub-ohm’ coil. These are typically what you will see ‘cloud chasers’ using as they can handle a lot of power which produces a lot of vapour. We’ll talk more about these in the ‘Types of Vaping’ section below. As well as the resistance, all coils will have a wattage rating (either printed on the coil or the box) which is essentially a guideline of what wattage range to power the coil on. For example it might look like “7W-14W”, which means the coil is capable of handling anywhere between 7 and 14 Watts. Most variable wattage devices, or ‘mods’, can alter wattage in 1W increments so it will be easy to abide by any wattage rating you come across. If you power the coil below the wattage range, the coil might not perform to its full potential (it might not power up properly which will mean you don’t get a proper draw). There are some exceptions though, for example a lot of sub-ohm coil manufacturers overestimate the wattage rating, so you may find a coil with a rating of 40W-80W can actually be used quite comfortably on 30W. If you power a coil over the wattage range, you will find it will burn out a lot quicker (if not instantly) because you are over working it. This is why it’s very important to pay attention to the wattage rating. If you have a device that is not variable wattage, you will often find that it will read the resistance of the coil and automatically output an appropriate power. All batteries/mods will have a ‘resistance range’ which is the minimum & maximum coil resistance it’s compatible with.
There are two types of vaping in terms of how you inhale and exhale the vapour produced by your device. You have the lower powered kits that perform more like a cigarette, or the higher powered sub ohm kits that are designed more for clouds.
Mouth to lung (MTL): Mouth to Lung, or MTL for short, is tailored to those who are looking for an E-Cigarette that can replicate a cigarette by providing a tight draw with small vapour production. This is the method we recommend when trying to quit smoking. These types of devices also tend to be a lot more simple to use and are more suited to using higher nicotine than a lot of the sub-ohm kits (often referred to as “fog machines”). Read more about these below.
Direct Lung (DL): Direct Lung, or DL for short, is for those looking to achieve bigger clouds than they would with MTL devices. A lot of these kits tend to be much more powerful in order to achieve larger vapour production. Due to this higher power and massively increased vapour production, when taking a draw the user inhales the vapour directly into their lungs (hence direct-lung). This bypasses the mouth, almost like one big deep breath, as opposed to MTL which involves taking the vapour into your mouth first, then inhaling when your mouth is full (as you would with a traditional cigarette). This means you don’t need to be using higher strength e-liquids such as 12mg or 18mg because you’re taking in more vapour / nicotine with each draw. A 3mg nicotine strength would be more advisable for this style of vaping We’ll touch on nicotine strengths more later on. More airflow is needed for DL in order to achieve the ‘deep breath’ style of draw. This can be achieved by opening the air holes as wide as possible on the tank (commonly one or two really wide holes on DL setups). When wide open it allows air to freely pass in through the tank, then up through the coil and out the mouth piece so the user can take a draw (or in this case a deep breath) freely instead of it being tight or restricted. Some MTL kits are able to also offer a ‘restricted DL’ performance. This is where the kit is powerful enough to produce a decent amount of vapour, and there’s just about enough airflow to make it possible, however it’s not quite enough so it feels a bit tight/restricted.
It’s always difficult when picking your nicotine strength when you first switch to vaping; the main strengths you will find are 18mg, 12mg, 6mg, 3mg and 0mg.
The best way to determine what strength will be required is to figure out the daily amount of cigarettes you smoke and that will give you a rough estimate on what strength you’ll need. Check the table below for a better idea of what strength you’ll need (for an MTL kit – as mentioned above 3mg is enough for a DL kit):
| Cigarettes A Day | Nicotine Strength |
| 1-5 | 3mg |
| 6-10 | 6mg |
| 11-15 | 12mg |
| 16+ | 18mg |
This tends to be the way I would suggest nicotine strengths for those who are looking to start vaping. When I started to quit smoking and move to vaping, I was smoking 15 roll-ups a day, so 12mg was perfect for me.
When it comes down to choosing your strength, you’ll need to bear in mind what device you have gone for. If you’re new to vaping, you’ll most likely have gone for a low powered “pen” style MTL device that would be able to work with any strength you require from 3mg to 18mg. If you have a kit that is capable of producing a DL style vape, then I would definitely start at 3mg and go no higher than 6mg unless you feel you absolutely need to. This is because of the amount of power the DL kits produce; as mentioned above they’ll deliver more nicotine with each draw than MTL kits so the strength required is a lot lower.
All e-liquid on the market has something called a PG/VG ratio. This refers to the percentage of each of the two main ingredients in the e-liquid. These two ingredients are Propylene Glycol (PG) and Vegetable Glycerin (VG). PG is the thinner of the two and has a harsher throat hit, whilst VG is the thicker of the two with a smooth throat hit and larger vapour production. A ratio you might see is 70PG/30VG. This means 70% of the e-liquid is PG, and 30% of the e-liquid is VG. This will be quite a thin liquid with a strong throat hit. With MTL devices, they tend to be lower powered which means you need to stick to thinner liquids (below 60% VG) because they don’t output enough power to vaporise the thick liquids effectively. Putting a thick liquid in a MTL device can clog your coil and prematurely burn it out. Thicker liquids are suited to higher powered sub ohm (DL) devices because they can output plenty of power sufficient to vaporise the thick liquid quickly which produces lots of vapour.
If you’re just entering the world of vaping you may have heard of these. They’re all the rage at moment and with good reason. If you’re not too bothered about all of the chemistry jargon, see the summary at the bottom of this paragraph (we don’t want to bore you) to find out why they can be beneficial to both new and current vapers. Nicotine Salts are the naturally formed nicotine in the tobacco leaf. They are not a physical salt, they just have the chemical composition of one. This chemical composition consists of a weak base and negatively charged particles that seek to find protons to become stable (ionised). Ionised drugs have difficulty passing through cell membranes which means they are not bioavailable (easily absorbed into the body). Because of this, an acid (usually benzioc acid or citric acid) is added to the nic salt to reduce the pH level (nicotine salts are an alkaline to begin with) which means it can be vaporised efficiently at lower temperatures (even by basic starter e-cig kits). This is because acids become a ligand (bond) to our nicotine receptors which delivers the nicotine quicker. Don’t worry, this doesn’t mean you’re vaping a burning acid; the end result is only just below natural water on the pH scale. In addition to this, higher pH levels (alkalines) give a stronger throat hit, so by adding the acid and reducing the alkalinity, the nic salts have an incredibly smooth throat hit so users can vape the higher nicotine strength they need to satisfy cravings without an excessive throat hit. This is why higher nicotine strengths in regular e-liquids have such a harsh throat hit, because the standard ‘freebase’ nicotine used in e-liquids is achieved in a way where the alkalinity remains very high. Even high VG freebase nicotine e-liquids have a strong throat hit in the higher strengths, it’s just a lot smoother than high PG. Because of the absence of a throat hit in the nic salts, the user can actually take a larger draw/vape without throat irritation, meaning more nicotine is delivered with every draw. After the acid is added, the now lower pH nic salt is diluted in your usual e-liquid ingredients, propylene glycol (PG), vegetable glycerin (VG) and flavourings to make it into a ‘vapeable’ nic salt e-liquid.
To summarise, the main benefits of nic salts are:
– Bonds to nicotine receptors immediately instead being slowly absorbed into the body (like normal freebase nicotine) which provides a quicker delivery of nicotine (or nicotine ‘rush’).
– It has a lower pH level than freebase so has a much smoother throat hit which means not only can you tolerate the stronger nicotine strengths, but you can take in more vapour with every draw which makes sure you get the nicotine hit you need.
Because of these two points, it’s recommended that you don’t use powerful sub ohm devices (realistically anything over 15W/20W) with nic salts because you might get too much nicotine in one go and become light headed.
Pod kits are great with nic salts because they are often low powered, small, compact and portable. This means you don’t have to carry around a big device because you can stay topped up on nicotine throughout the day with quick nicotine delivery satisfying cravings more efficiently. This in turn leads to you not needing to use your device as much which means it does not matter that pod kits usually have smaller battery capacity.
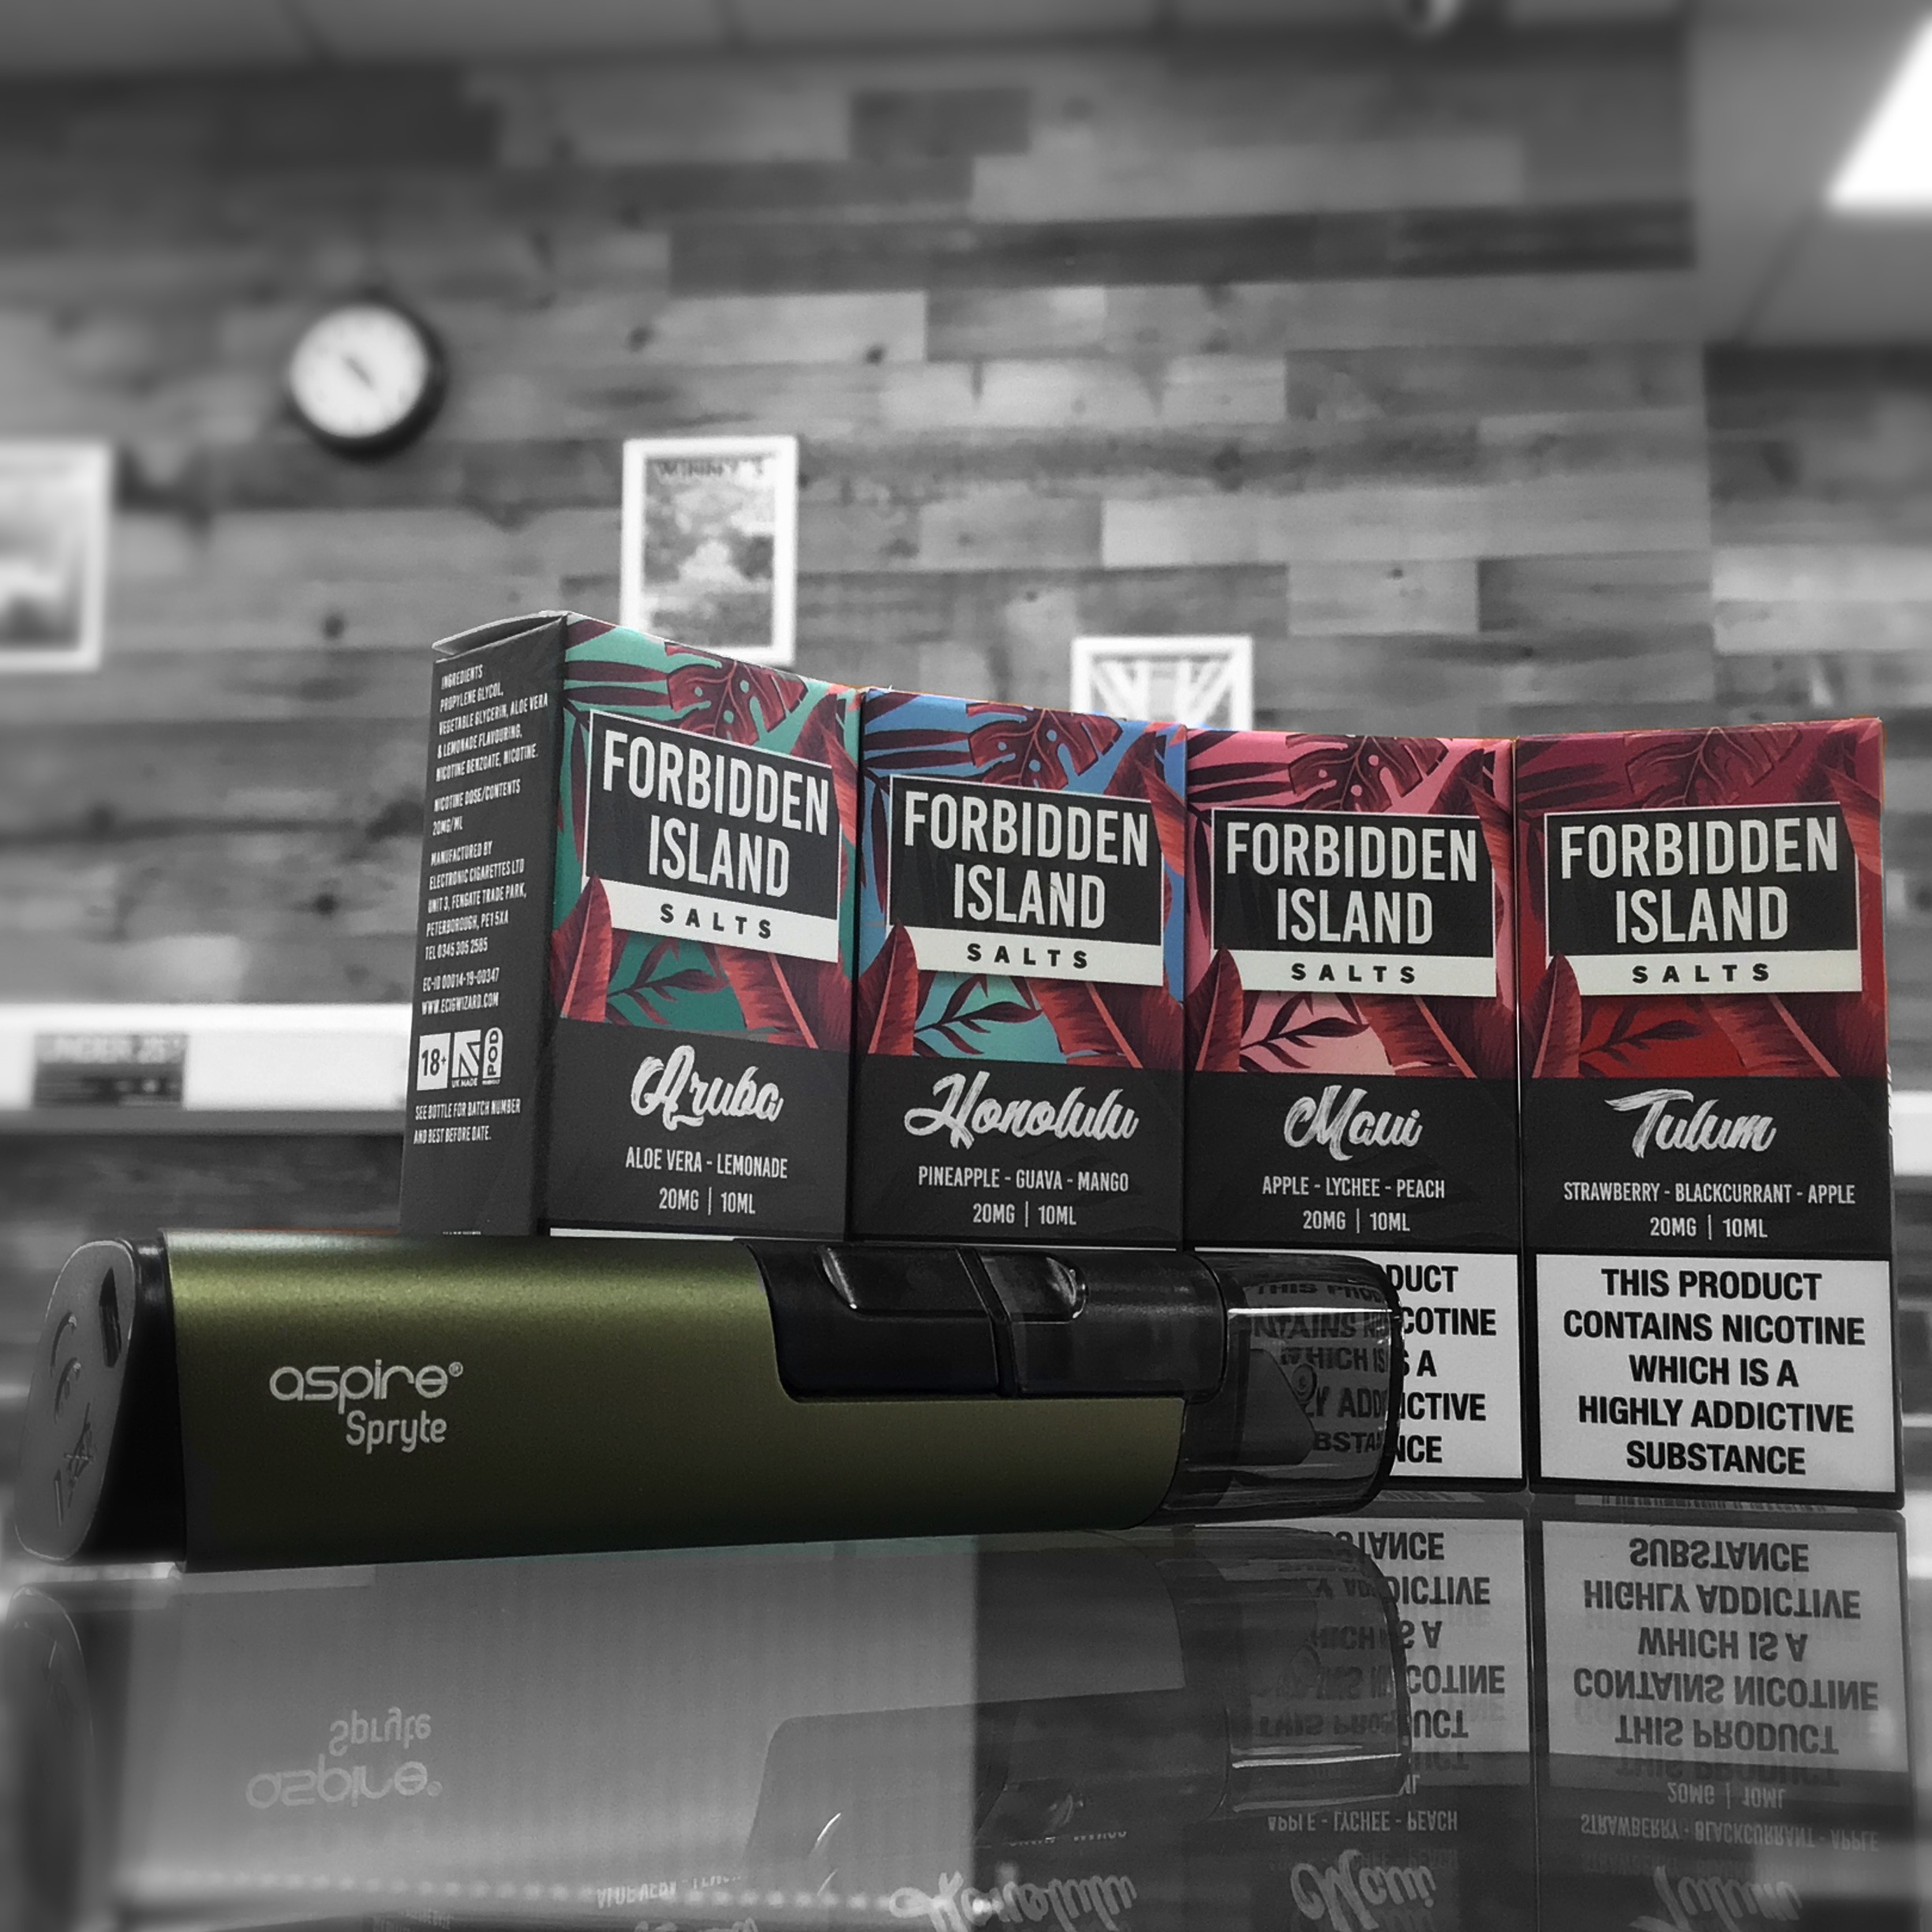
Nic Salts are available in various flavours and are ideal for new starters or current vapers who crave more nicotine but usually wouldn’t be able to handle the strong throat hit that comes with it. Obviously if you’re a smoker wanting to switch to vaping but the throat hit is really important to you (as is the case for a lot of people), then nic salts probably aren’t for you.
How does this compare to “standard” e-liquids containing freebase nicotine? Find out below:
Freebase nicotine is what’s been used in e-liquids since the start of the e-cigarette industry. This takes the same naturally occurring nicotine salts from the tobacco leaf, however instead of adding an acid, ammonia is added. As mentioned at the top of this section, nicotine has the chemical composition of a salt which is ionised. The ammonia de-protonates the nicotine (removes its protons) which de-ionises it and ‘frees’ the base to allow it to pass through cell membranes. This means it becomes more bioavailable (absorbs into the body more efficiently) which offers a slower nicotine delivery but stays in the body for longer. The nicotine can then be diluted in the usual e-liquid ingredients listed above to become a bottle of freebase nicotine e-liquid.
Now we’ve got to grips with some of the vaping foundations, below are my top four recommendations for starter kits that tick all the boxes for me as a suitable option for quitting smoking and starting vaping.
If I was to start again as if I’ve never used an e-cigarette, I would definitely look at using something along the lines of a low powered kit that is more purpose-built for quitting smoking – an MTL device.
Aspire have become a staple brand in the industry over the years with their consistently impressive array of devices. Their reputation is at the very top, just like their quality of products. This for me makes them an incredibly reliable brand to quit smoking with; from their ever-popular devices such as the Nautilus series, the Pockex line, and arguably one of their biggest successes, the BVC line of coils.
The Aspire Spryte uses the BVC coil line and considering the popularity and reliability of these coils, this kit makes the cut with flying colours. This is down to the sheer length of time these coils have been around, and stayed around. Often tanks and coils come and go, but not these ones. They’ve been so popular (and still are), that they have to be one of the longest-standing coils in the whole industry. This is the definition of tried and tested, and is why this is the first kit on the list.
The Spryte kit is nice and easy to use, so it’s perfect for a new starter. There’s no menu system or settings to worry about, just the firing button to power the device and turn it on/off (5 quick clicks = on/off). The kit has a 650mAh battery capacity which should last you 6-8 hours of vaping (depending on usage). One handy feature I like about this kit, one that you don’t see a lot at all, is the inclusion of a dust cap/lid that you put on top of the device when not in use to make sure your mouth piece stays dust/fluff free! I really think more devices should have these, because when you’re not using your device and pop it in your pocket or bag for example (ensuring it’s turned off), it’s quite common for bits to get in the mouth piece. The Spryte has a pod to hold your e-liquid; just pull the pod out, turn it upside-down and pull out the orange bung to fill it up. The coil is also located on the underside of the pod; to change it just unscrew it from the pod, then unscrew the coil itself from the base and replace with a new one. There’s also adjustable airflow on the base to change the tightness of your draw. An open hole provides a looser draw, whereas a closed hole provides a tighter draw.
To summarise, it’s a simple, easy to use kit that replicates the feel of smoking very well.
The Joyetech Ego Pod is relatively new in the industry and has definitely made its mark. I’ve personally used this device for the last 7 months and have honestly got no faults to report.
This kit is arguably one of the easiest kits to use on the market. It’s breath activated meaning there’s no buttons to press; just take a draw on it and it’ll power up! This makes the kit perform more like a traditional cigarette which helps that transition become a lot easier. Plus with the battery being quite large for a starter kit (1000mAh) and the resistance being quite high (1.2Ω), it’ll easily last the whole day without charge (depending on usage). I’ve actually been getting at most two days before it’s flat.
Another factor that makes the kit so easy to use is the inclusion of a pod with a built-in coil. This means everything is in one place and there’s no need to worry about changing any components (even the mouth piece is built in). Just keep topping up (using the spring loaded fill port underneath the pod), then throw away the full pod when the coil is burnt out.
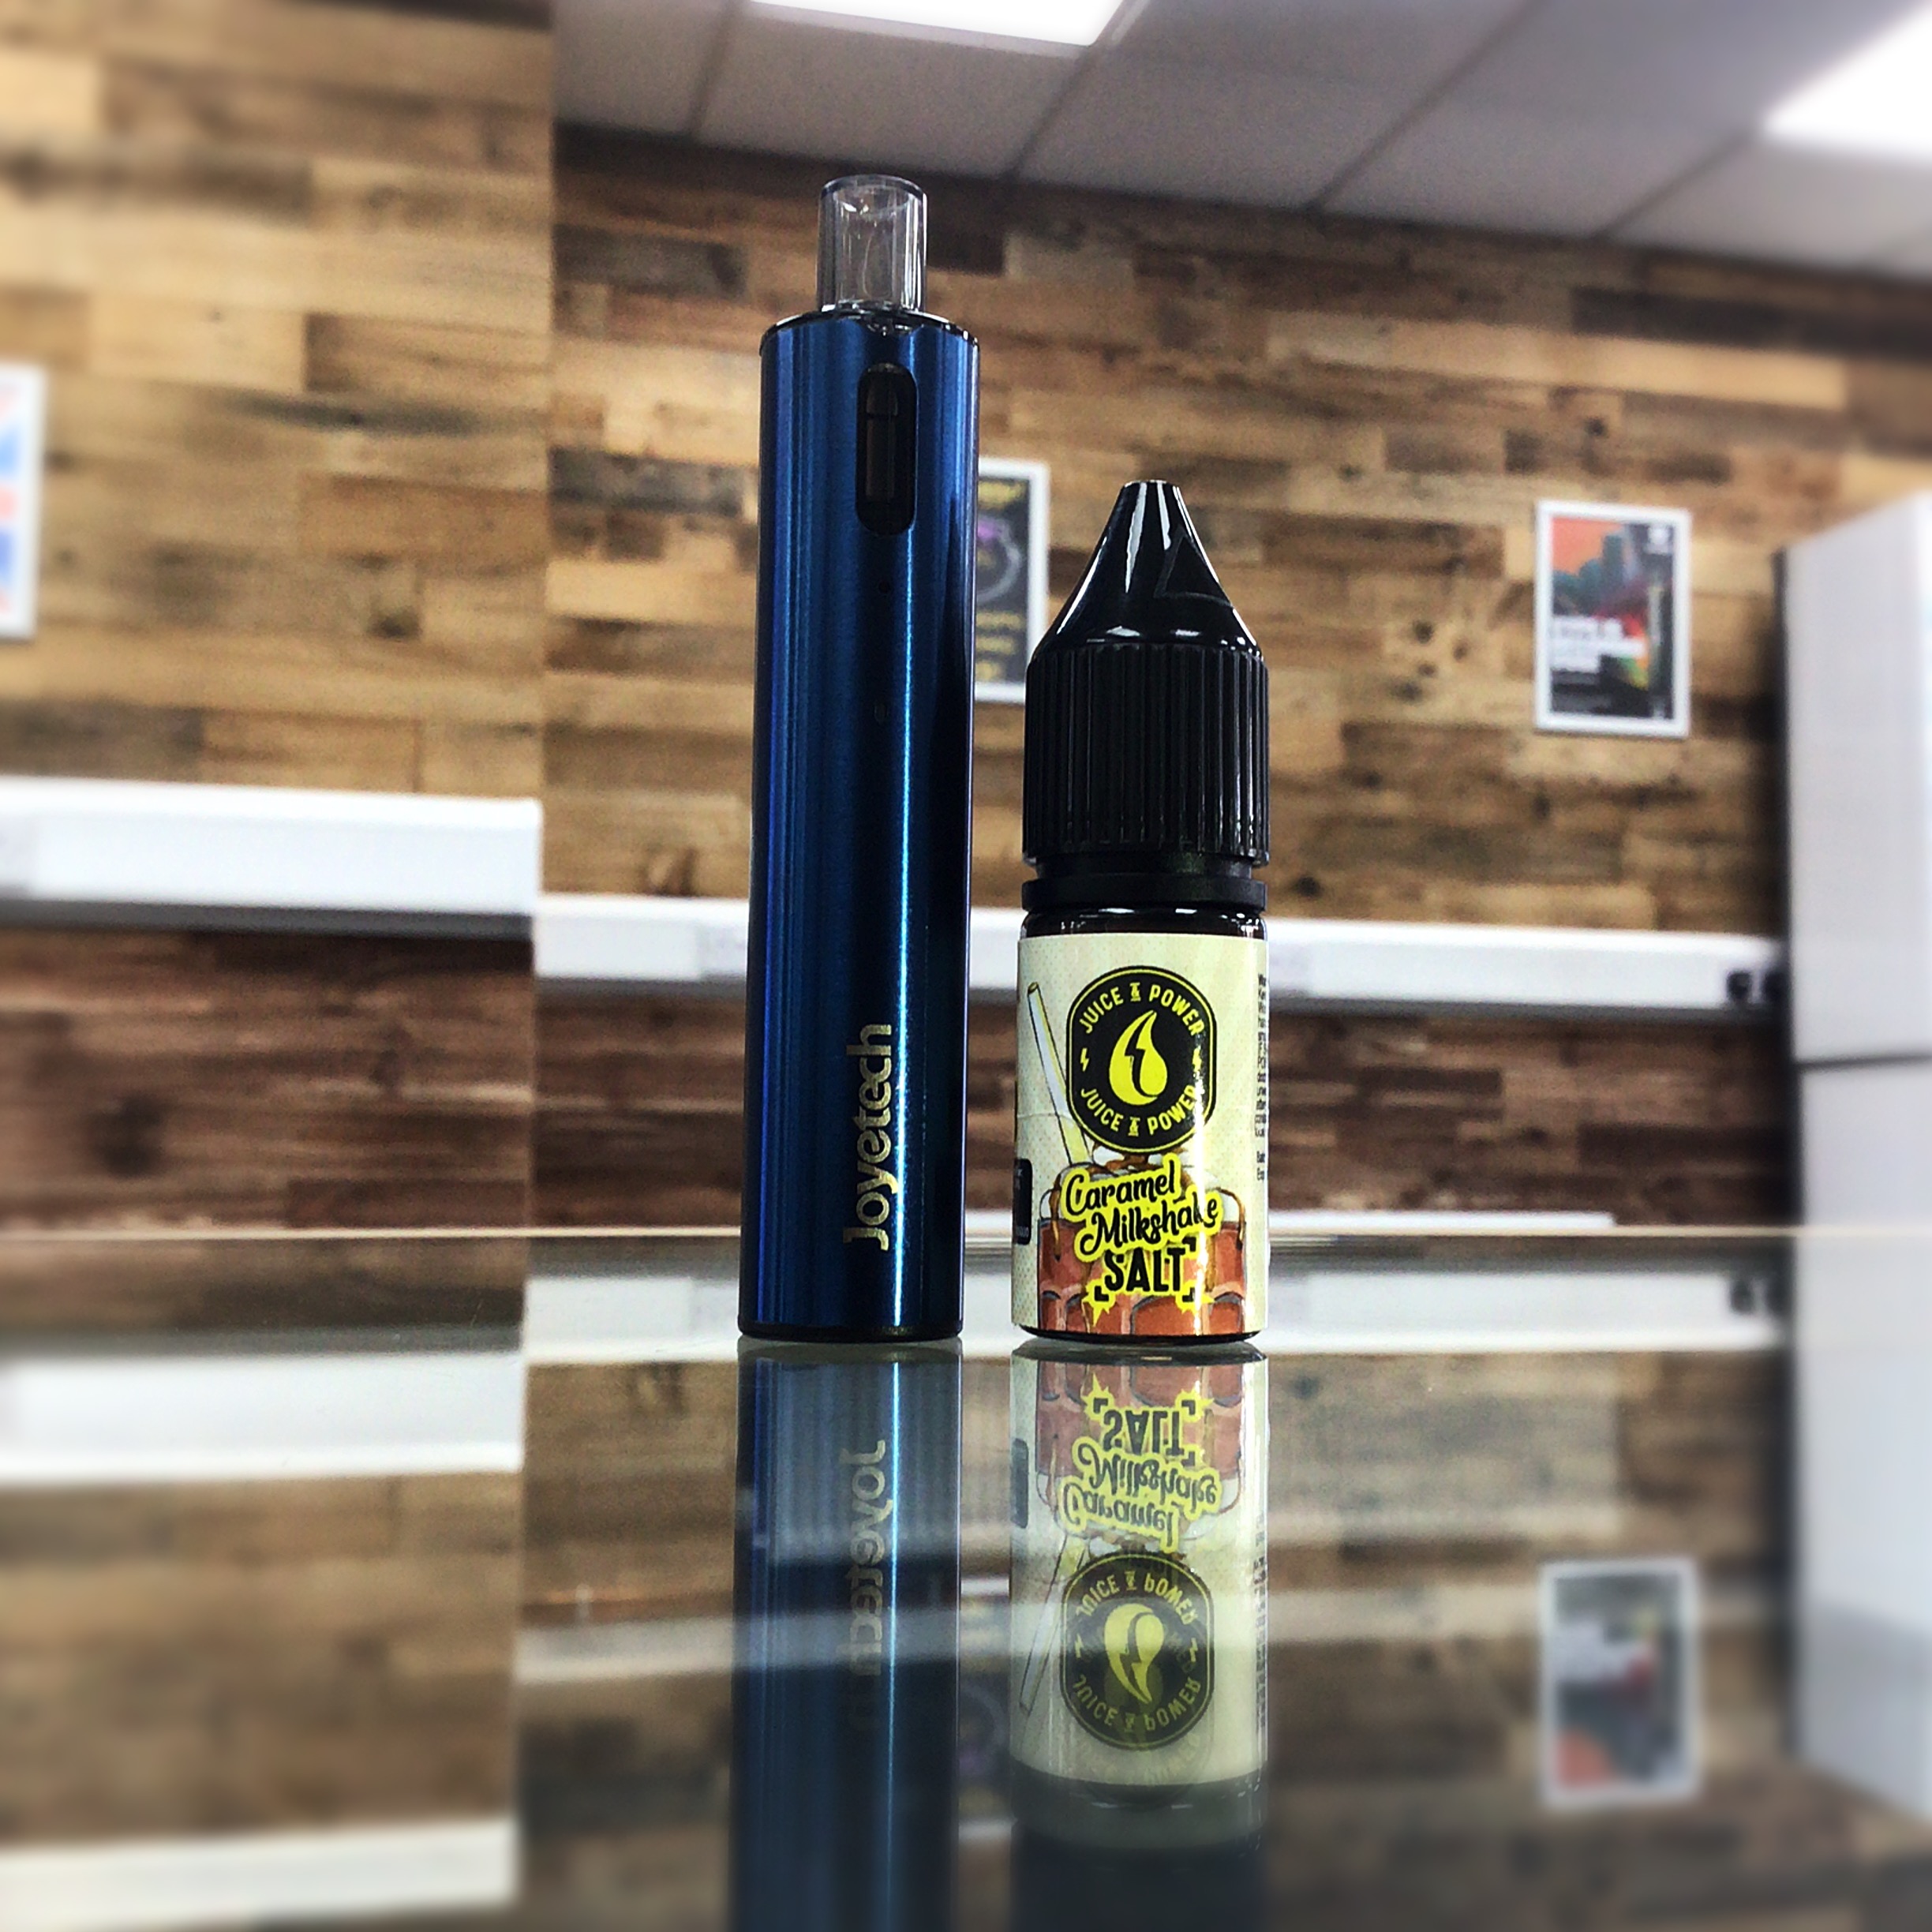
The Joyetech eGo Pod kit is an incredibly easy-to-use kit that will give you the closest performance to the real thing! It’s also (at the time of writing) the most affordable kit in the store, costing just £19.99!
Eleaf are another one of those brands who have been on the scene as long as anyone can remember and are known for their hardware being exceptional in quality. The iJust AIO upholds this outstanding reputation. This is another pod kit but with the added addition of variable power, meaning if you need that extra bit of a hit, you can just turn up the power! This doesn’t use a screen, but is instead achieved by quickly clicking the power button three times while the device is on. This will cycle through the power settings, displayed by the light flashing behind the power button. Red = low / Blue = medium / Green = high. Higher power will give more of a throat hit with larger vapour production. These same lights can be used to show how much battery life you have left, which is a very handy feature as not a lot of the pen-style devices have this. Quickly click the power button twice to display battery life. There is an impressive 1500mAh battery capacity with this device which should be sufficient to see you through a full day of vaping. However, this does depend on usage, plus the battery will drain quicker as you increase the power setting.
The coil is really easy to change; just pop the pod out, pull out the coil from the base and push in a new one. The coil that comes with the kit is 0.6Ω which gives a powerful MTL experience or a restricted DL experience. A 1.2Ω coil is available for a lower power MTL vape. The power outputted by the device automatically scales depending on which coil is installed. So for example using the 1.2 coil on high power (green) would output about the same as using the 0.6 coil on low (red).
To fill the pod, rotate the middle metal sleeve of the pod to reveal the white fill port. When rotating ensure you do not hold the mouth piece or the battery because it won’t rotate properly; either the whole pod will rotate or nothing will rotate at all. The fill port is a white rubber membrane with a slit in the middle. Push your e-liquid bottle’s nozzle through the slit in the membrane, fill up your pod, then remove the nozzle. The membrane will seal itself back up. Rotate the metal sleeve to cover the fill port back up, then you’re ready to go. Rotating the whole pod will open & close the airflow hole on the side of the battery at the top where the pod sits.

This kit is a great option for someone who would like a bit of personalisation with their vaping experience. Maybe first thing in the morning the throat hit is a bit harsh, so turn it down to low power and you’re sorted!
This is the first of the kits in this post that isn’t a pod kit (they just seem to be really popular at the moment), but it’s with good reason because this is arguably our most popular starter kit!
As with the other starter kits above, the Pockex is a remarkably easy kit to use. We believe ease of use is essential for new starters because it’s a big step to make, so making the whole process easier to get used to by ensuring there’s no complications is key to a kit’s effectiveness. With the Pockex, Aspire did just that. There’s just one button to press, and both filling and coil changing is done via the top of the device. Similar to most kits, quickly click the power button 5 times to turn the device on/off, then hold it down to take a draw (when filled with e-liquid of course). To fill up, just unscrew the top cap, then fill straight into the glass tank section up to the ‘max’ line. When unscrewing the top, the coil unscrews at the same time, so whenever you need to change it you can just unscrew it from there then screw in another one.
Similar to the iJust AIO, the Pockex has two coil options; a 0.6Ω coil (pre-installed) and a 1.2Ω coil (spare in the box). The Pockex does not have variable power, so it will automatically read which coil is installed and output an appropriate power. The 0.6 coil is the stronger of the two so will give more of a throat hit and more vapour production (powerful MTL or restricted DL). The 1500mAh battery capacity should be enough to see you through a full day of vaping (depending on usage), however bear in mind that the 0.6 coil draws more power out of the battery meaning it will drain it quicker.
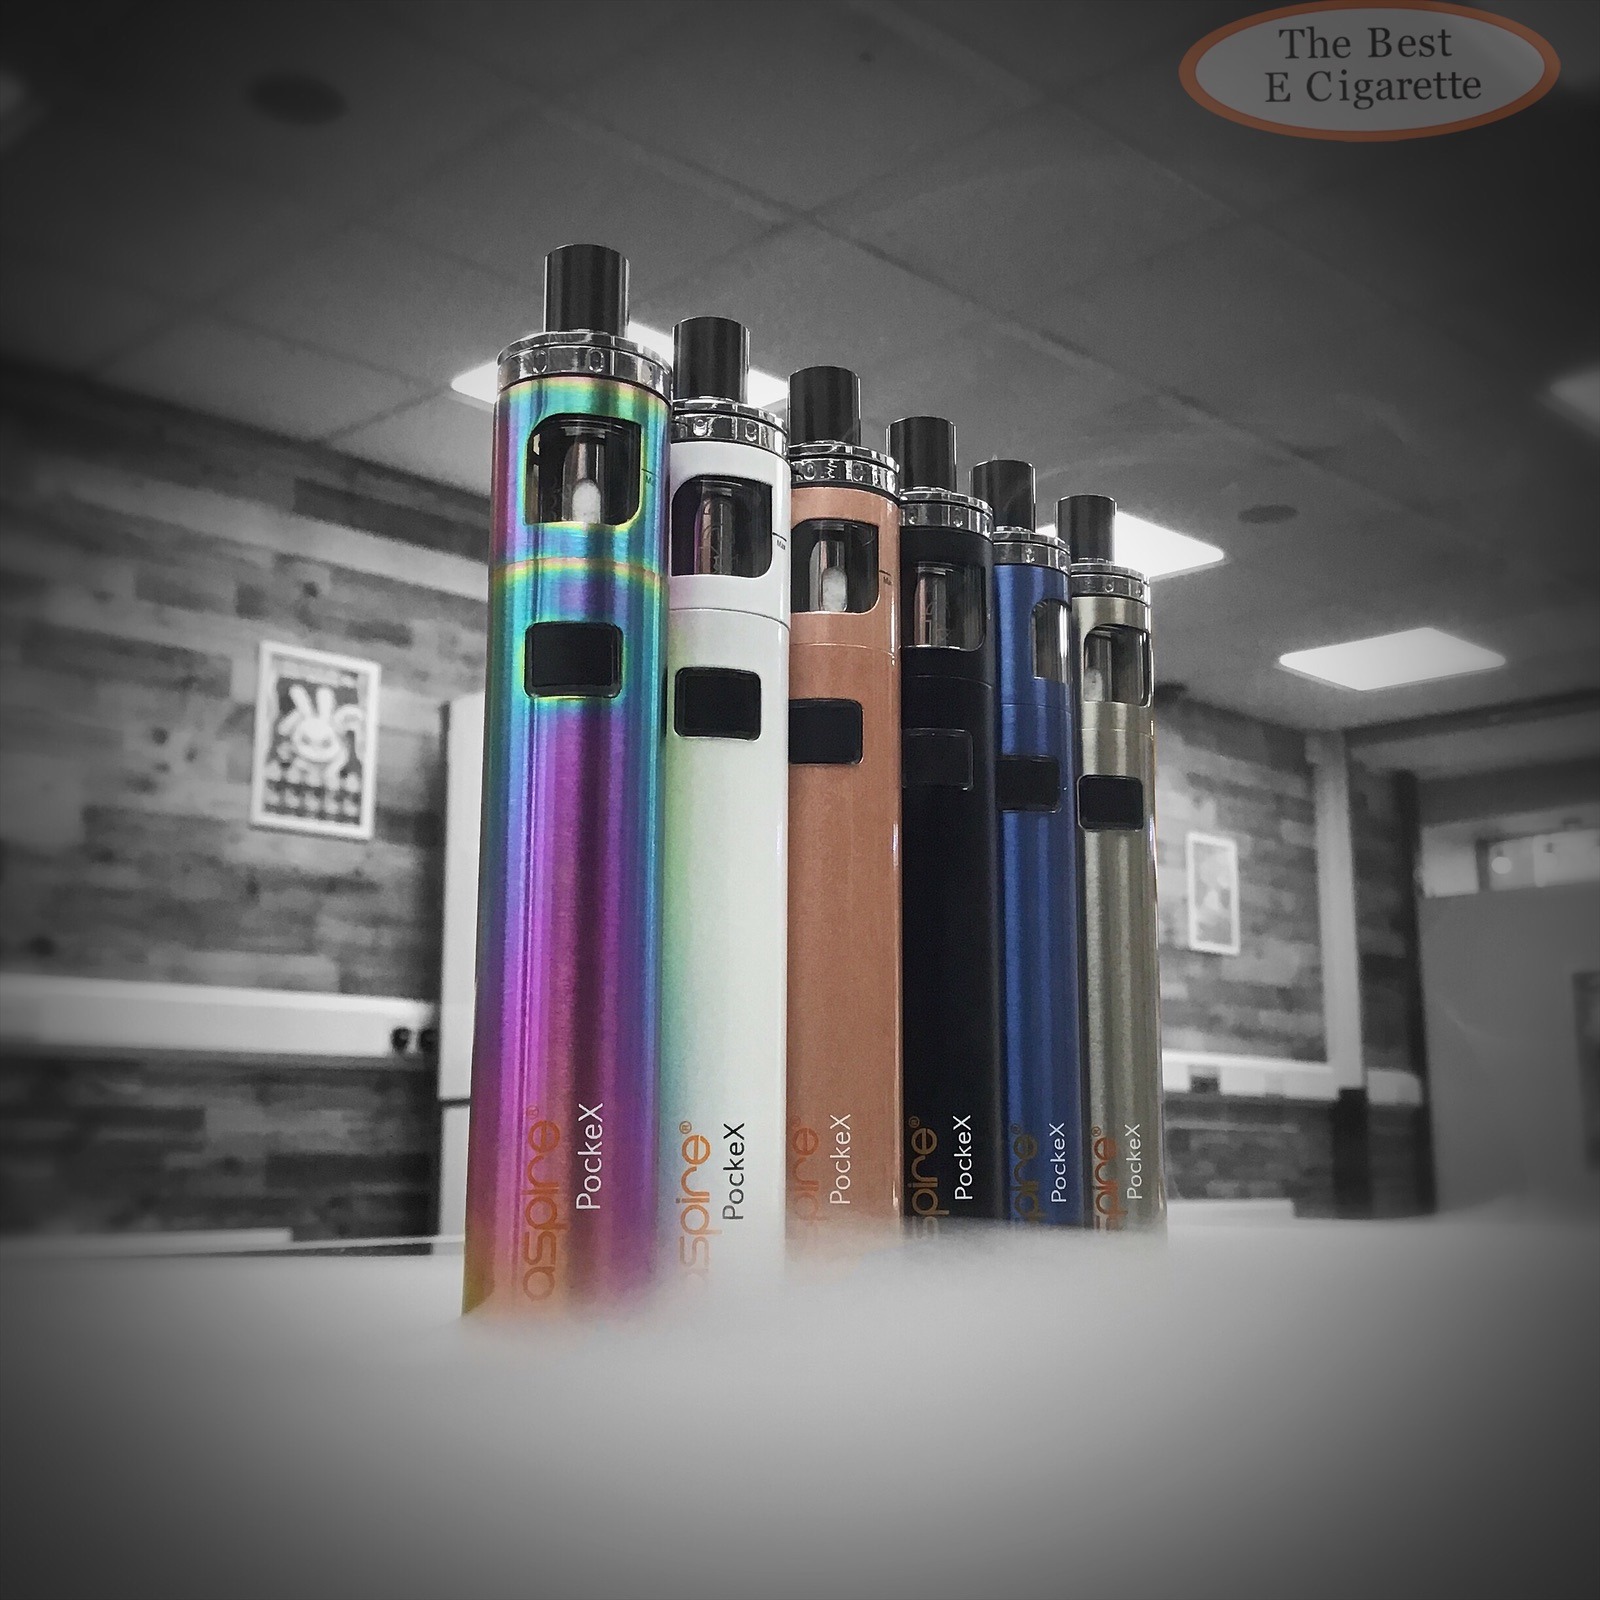
This is a solid kit that has become one of our go-to starter kits for those looking to stop smoking.
There is a plethora of kits to choose from these days; although I’ve suggested a few different kits we recommend in this post, the best advice I could give to someone wanting to make that transition from smoking to vaping is to simply come and chat with us in store. This is because you can see the device in front of you and also ask any questions that come to mind.
One final thing to consider when making the jump from smoking to vaping is that it’s not a miracle cure for a 10-year habit but something to aid you when trying to quit. Patience is a virtue. Although more people have statistically quit because of vaping, it doesn’t mean that it’s purely vaping that has made them quit. Willpower is definitely needed and you have to want to quit in order to make it happen.
If you want to know more about quitting smoking, come down to our store and have a chat with one of our helpful team members. Alternatively you can get in touch via email, phone, or even on our social pages (info and links are down below).
Phone – 01773 687073
Email – support@thebestecigarette.info
Thank you for reading.
Cal
Want to see more from us? Check out our social media pages by clicking the icons below!
![]()
![]()

Welcome back to our blog page! Yes, it has been a minute but with the curren...
Read More
This week we will be looking at the Argus Pro Kit from Voopoo. We know Voopoo f...
Read More
Good day, and welcome back to another blog post. This week we will be looking a...
Read More